
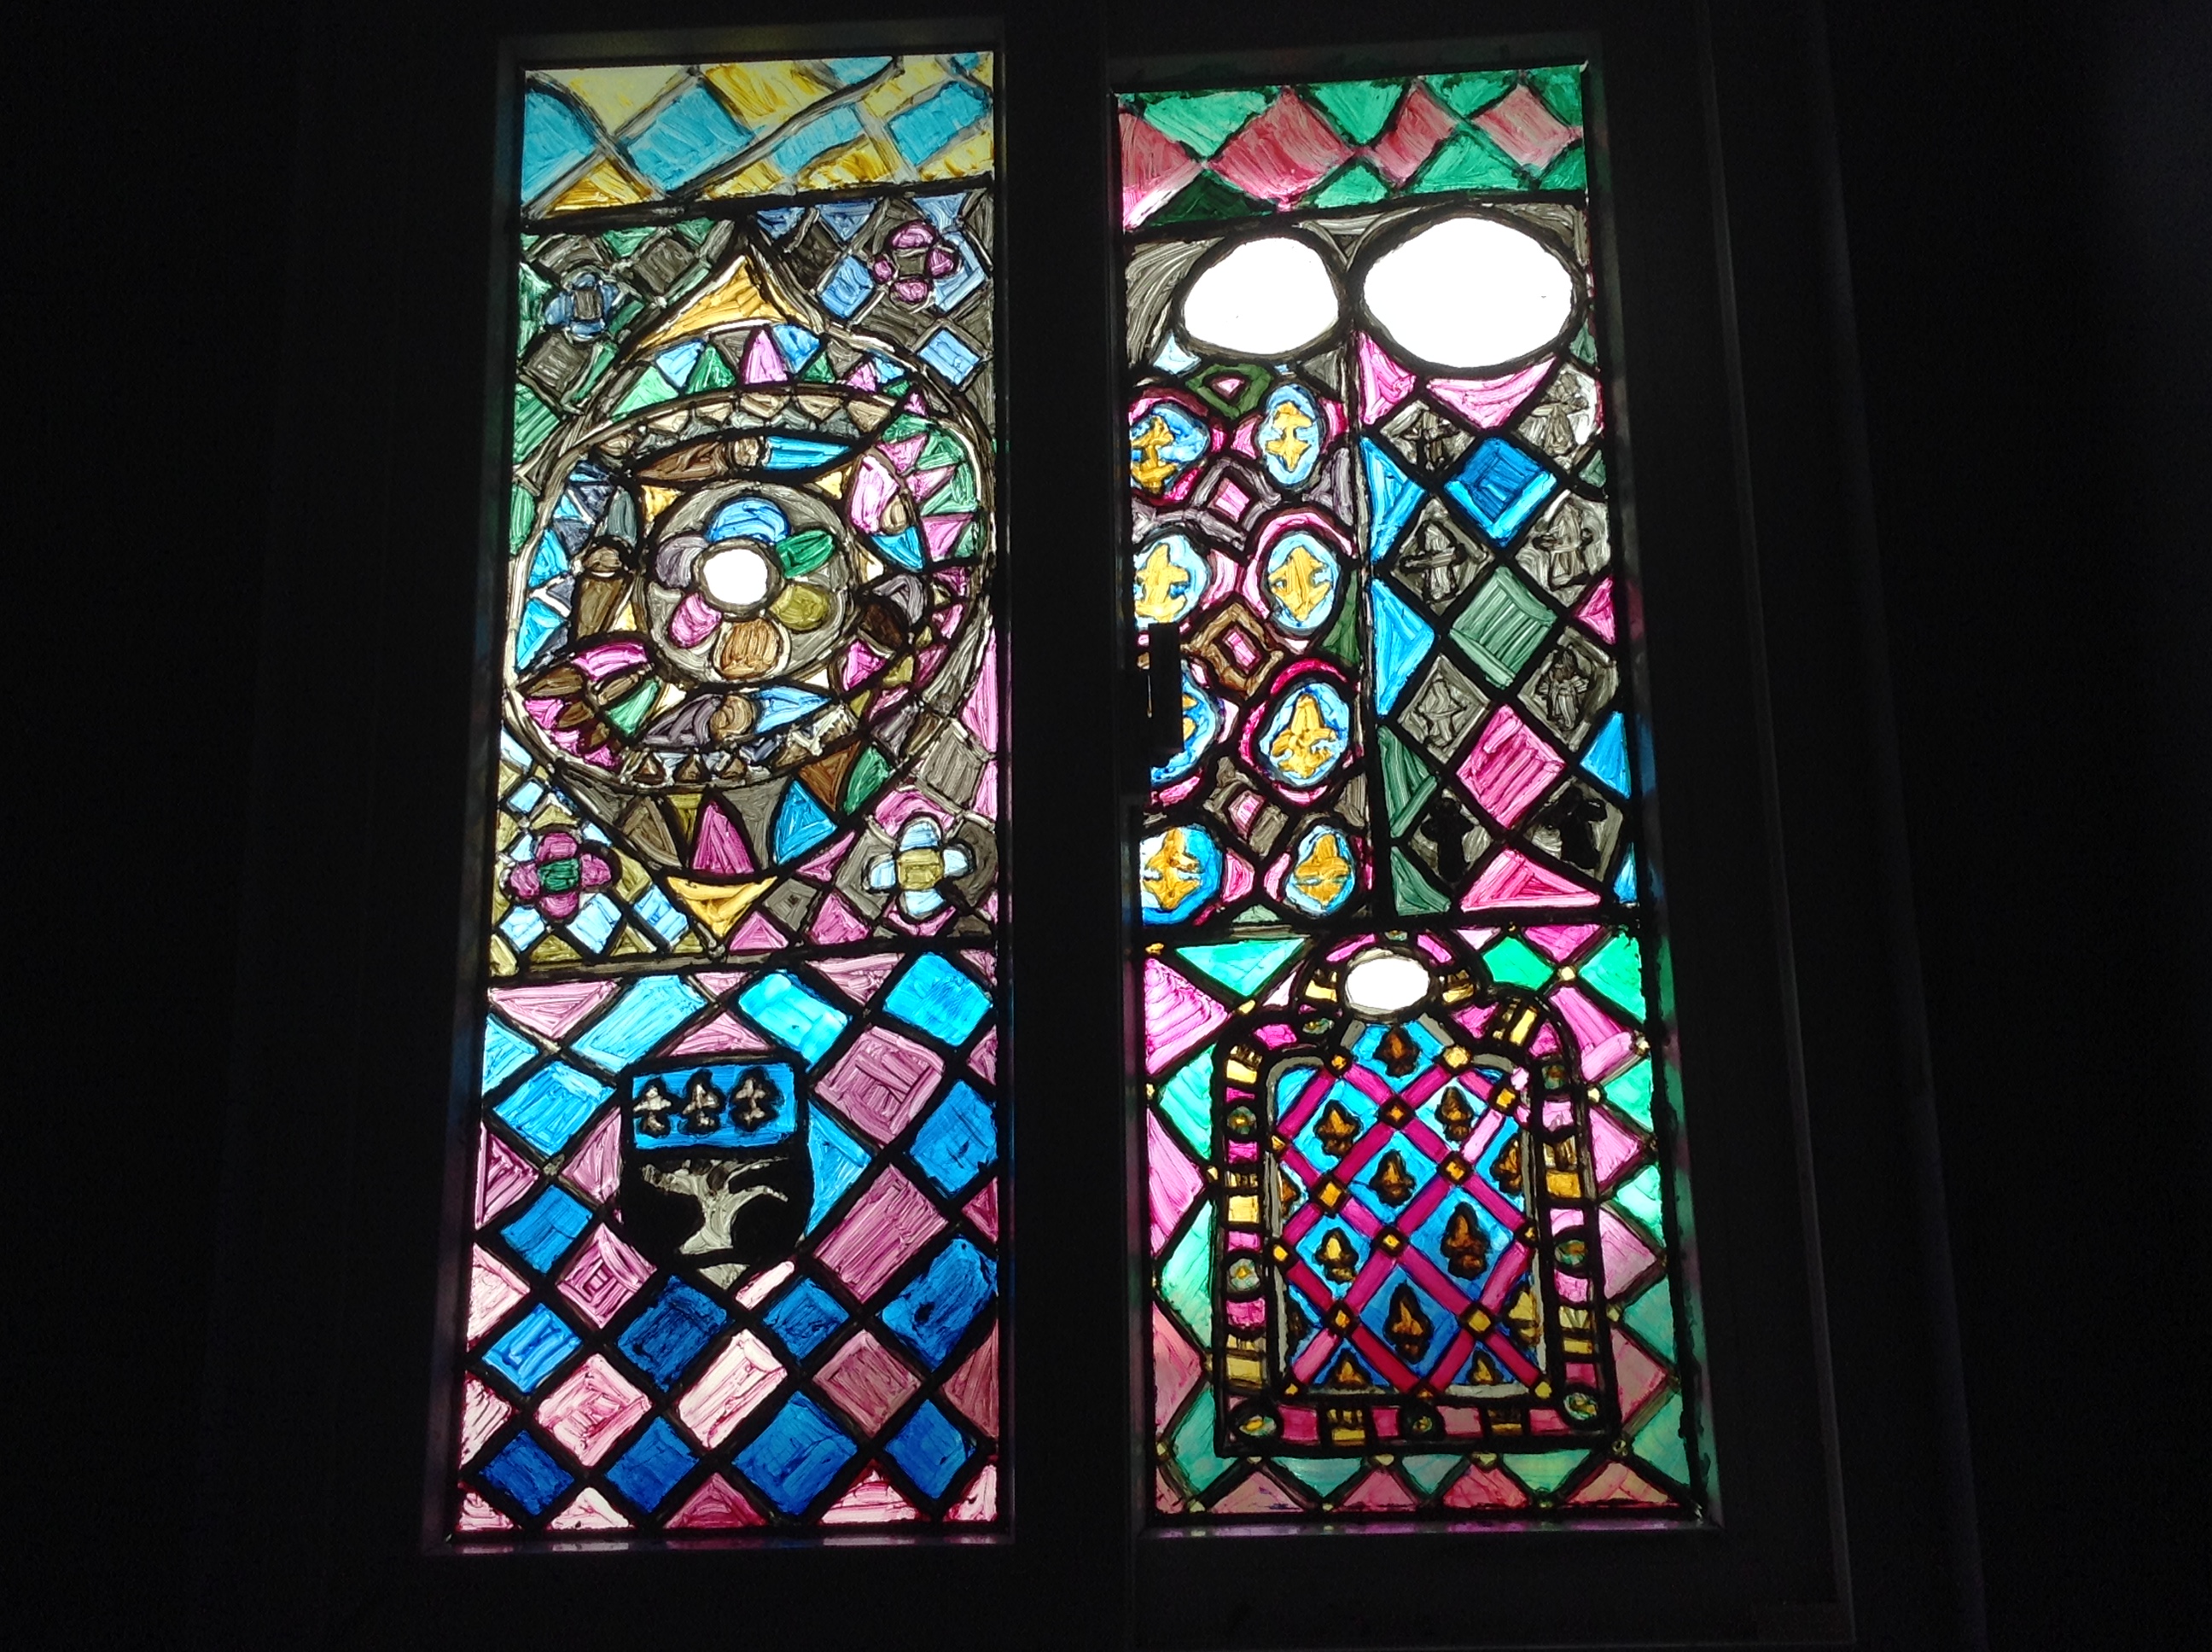
As I have mentioned about last year, for quite a time I’ve been doing some painting work with the help of others in the making of a spectacular “Fresco Hall” or murals in a simple bathroom, this also includes a complex stained glass on the bathroom’s window. This time, I have made an update to the bathroom’s paintings, in particular a small addition to the stained glass window. This art I have put into the window is originally inspired by a small portion of the actual stained glass window found in the Sainte-Chapelle in Paris. My window design was made replacing an older and much more plain design of the original bathroom stained glass window, and now it has the design of the French fleur-e-lys pattern with red linings and a red frame with alternating designs, around it is a red and green checkered pattern, and in fact it did not take too long to make.

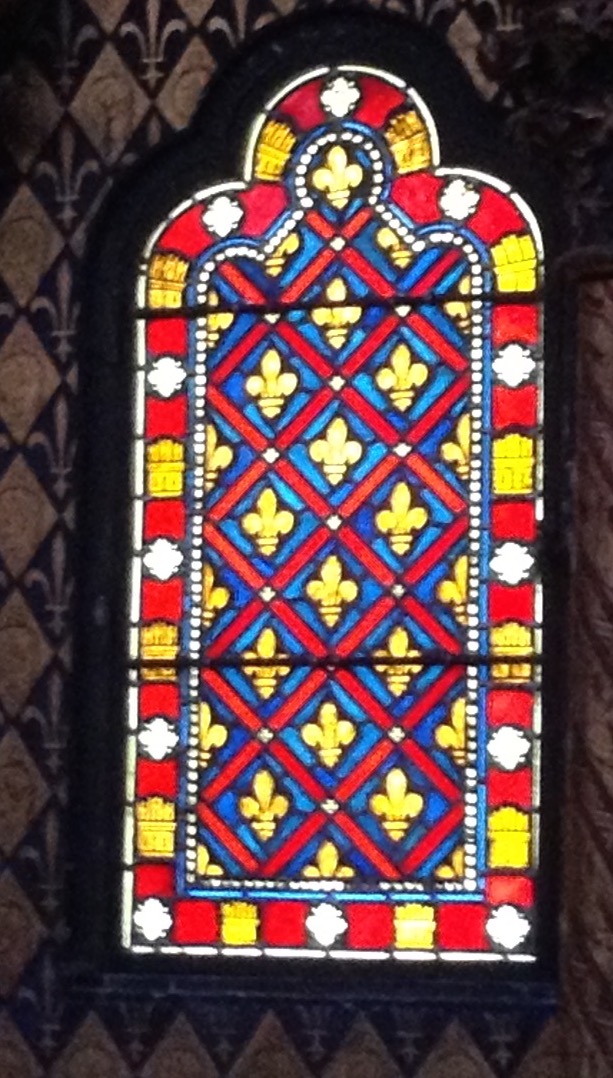
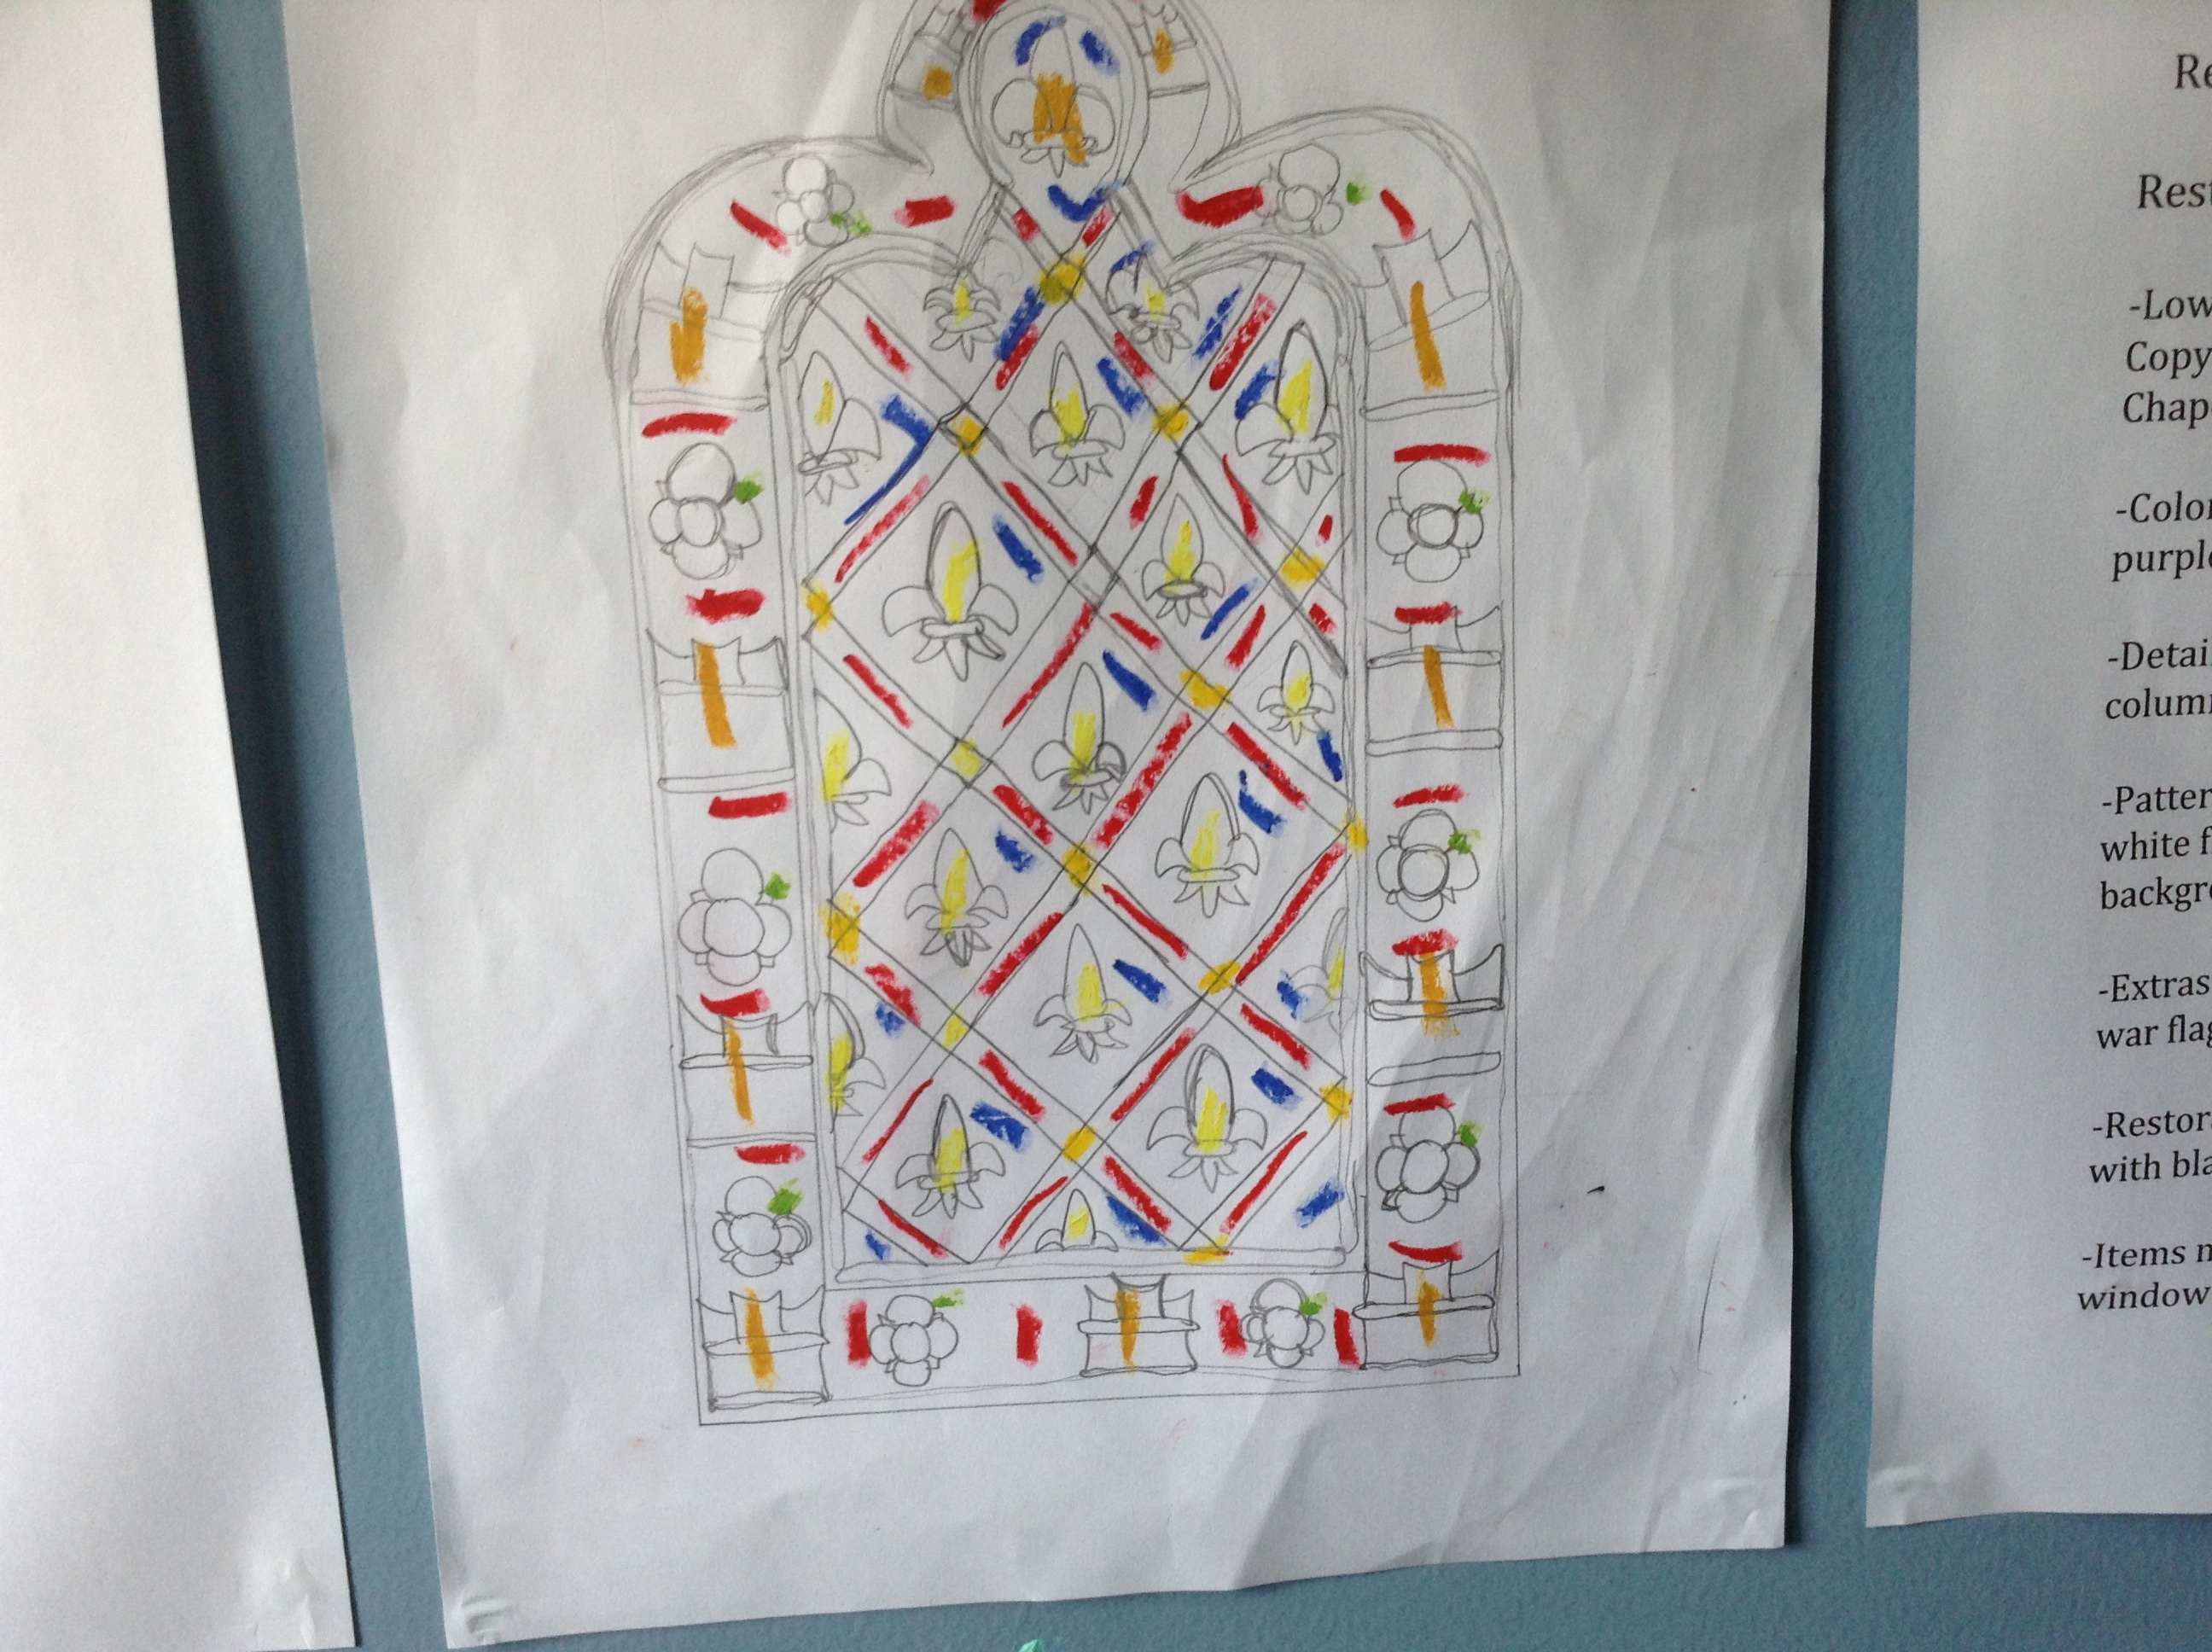
Beginning the whole stained glass renewal and bathroom paintings restoration project, I of course begin with a plan for the project and a design for the stained glass. First of all the original piece that inspired this stained glass project is a stained glass piece found placed into one of the walls of the Sainte-Chapelle in Paris but not a stained glass piece in the large windows itself as it would be too difficult to copy the design of the 15 windows of the Sainte-Chapelle (found in the middle of the Palais de Justice in the Ile de la Cite, Paris). The window from the Sainte-Chapelle I’m trying to make my own version out of may not be an original 13th century made stained glass window. That window in particular is very small but I’ve spotted it when I was in the Sainte-Chapelle and thought of doing something like it when I do a bathroom restoration project as it looks simple to make and does not use too much colors. When making the window design, I did not end up using too many colors which would end up being useless but only used a few colors; black, red, blue, yellow, gold, green, and white and only used 3 paint brushes in the making. When making the whole thing, I begin with a sketch of the design on paper to make a draft for me to follow to do the actual paining itself. To guide me while painting the windows, I placed a print out of the picture of the actual window in the Sainte-Chapelle and the sheet with my sketch. Afterwards, the actual painting of the window begins, starting by outlining the frame with black marker then traced with black paint for the permanent frame. When making the stained glass window, I use painting as a method for making it rather than the longer medieval way of patching up glass, which would take longer, but when painting the design on the window, I did as precisely as possible.
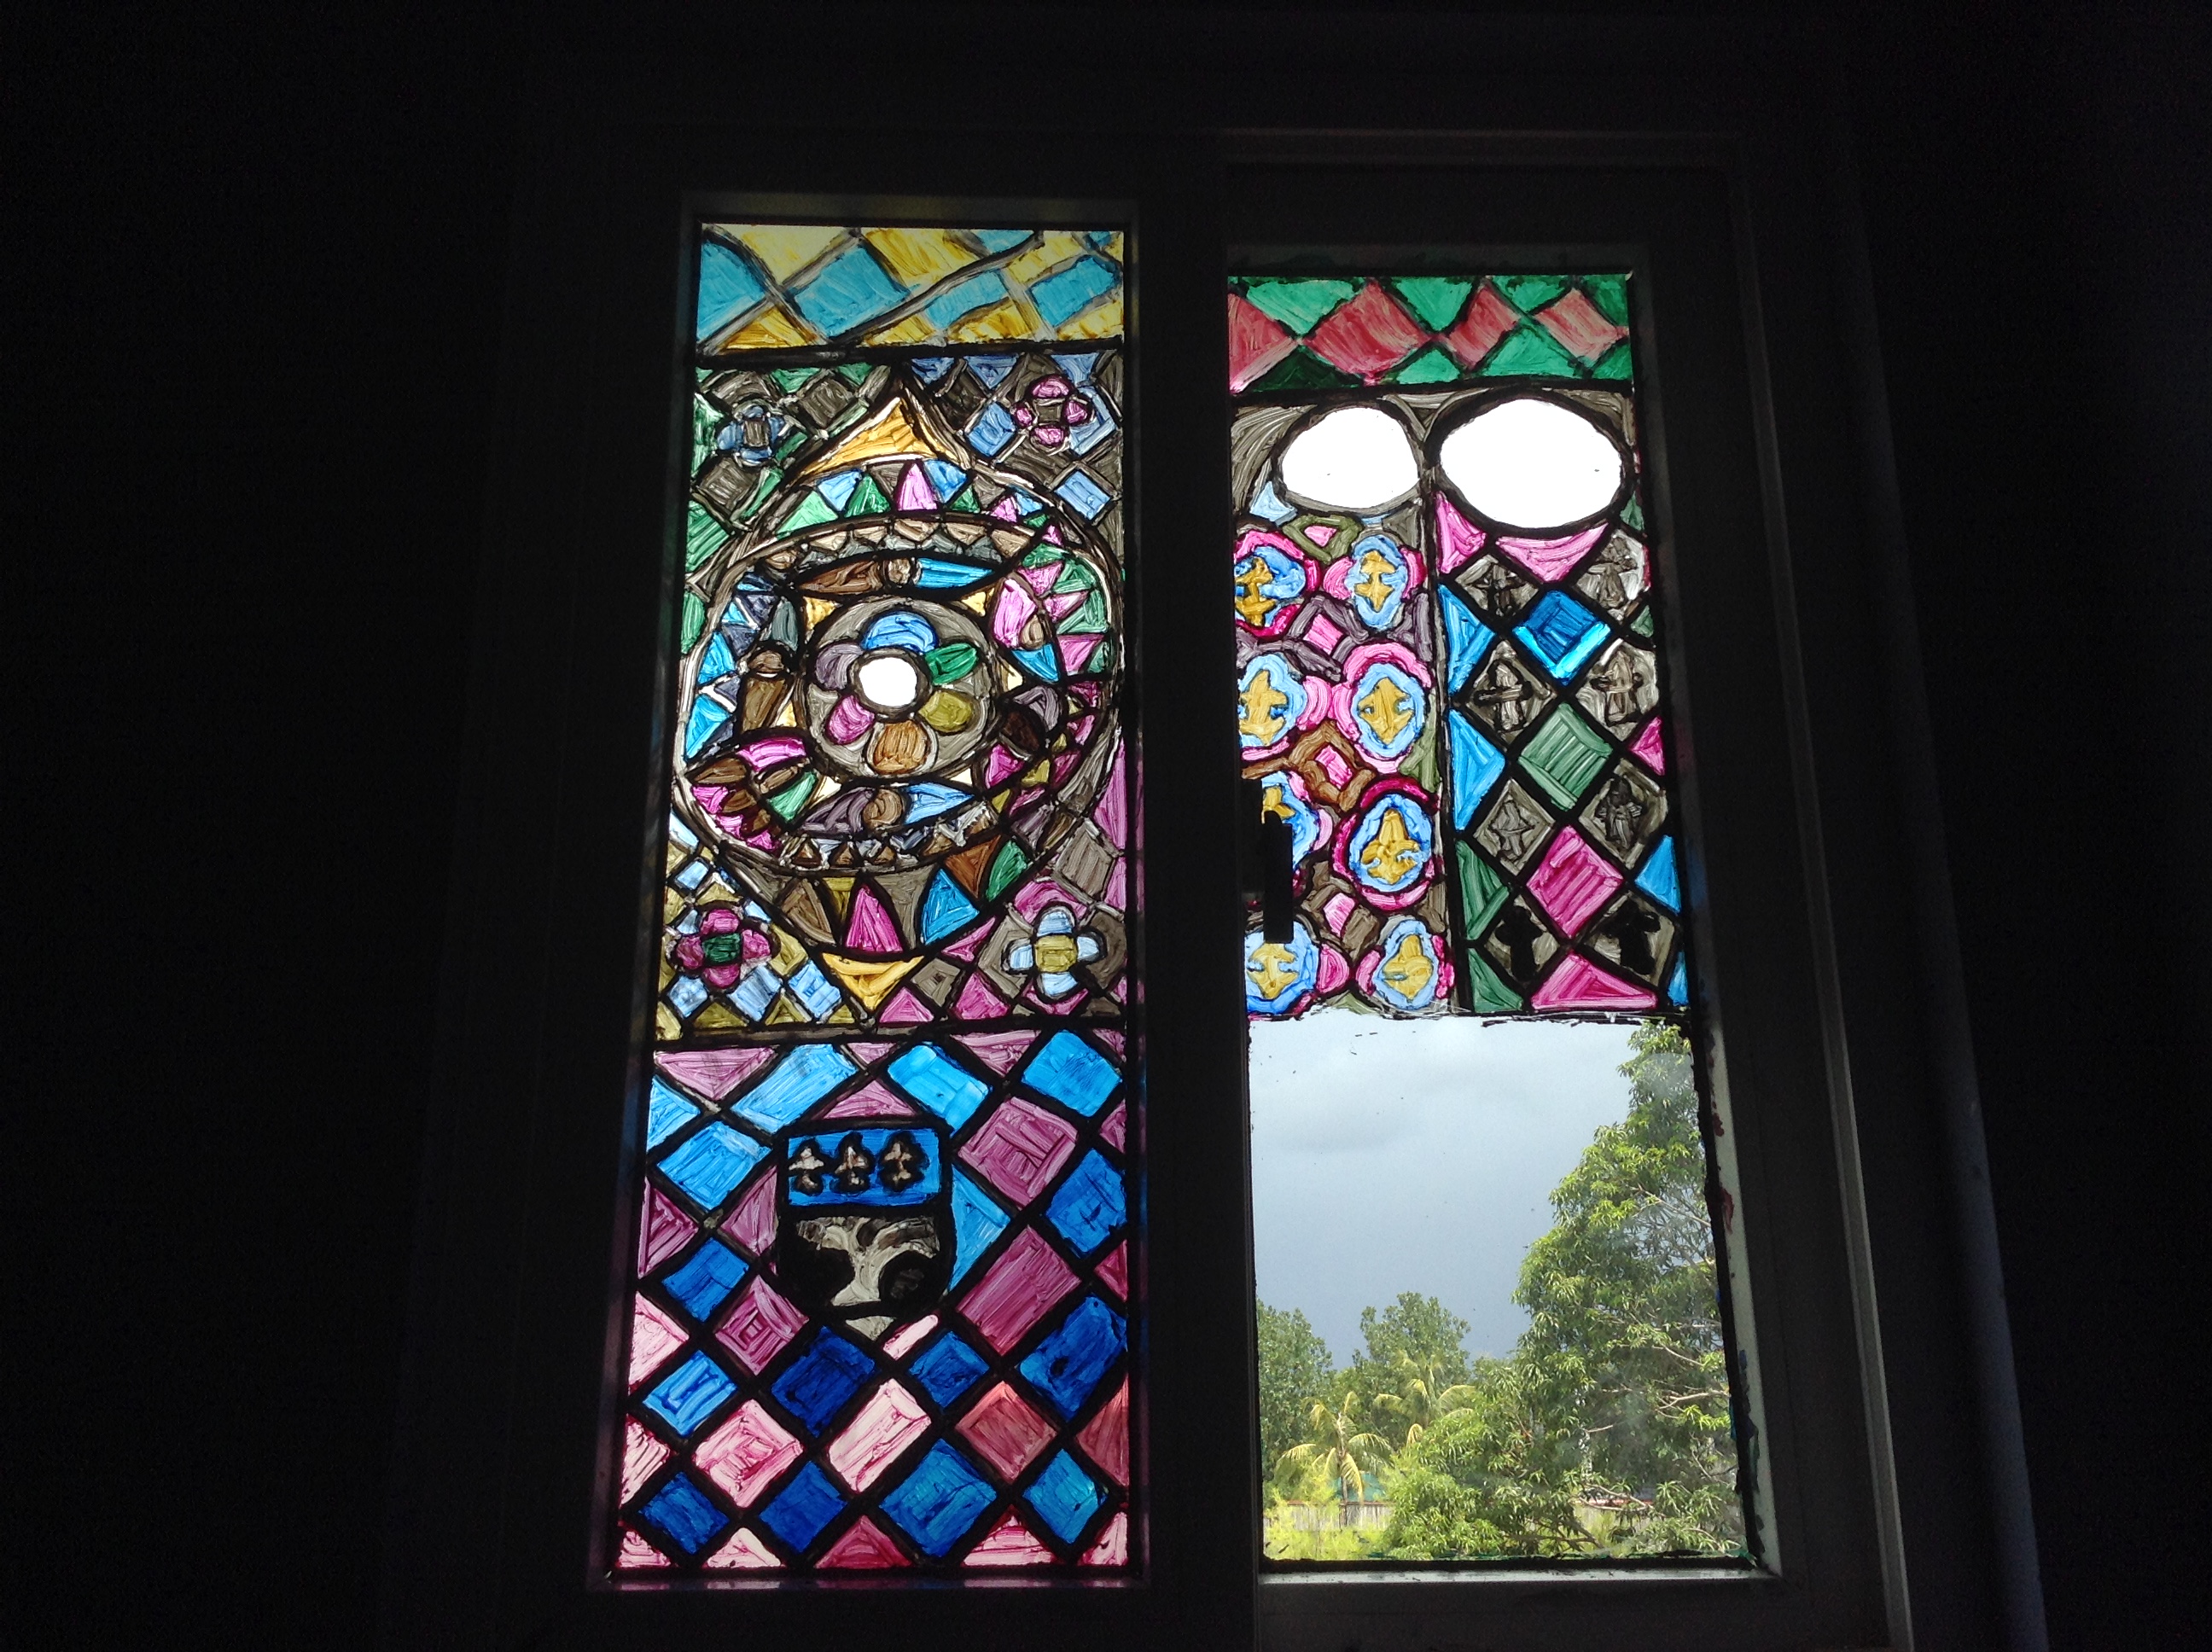
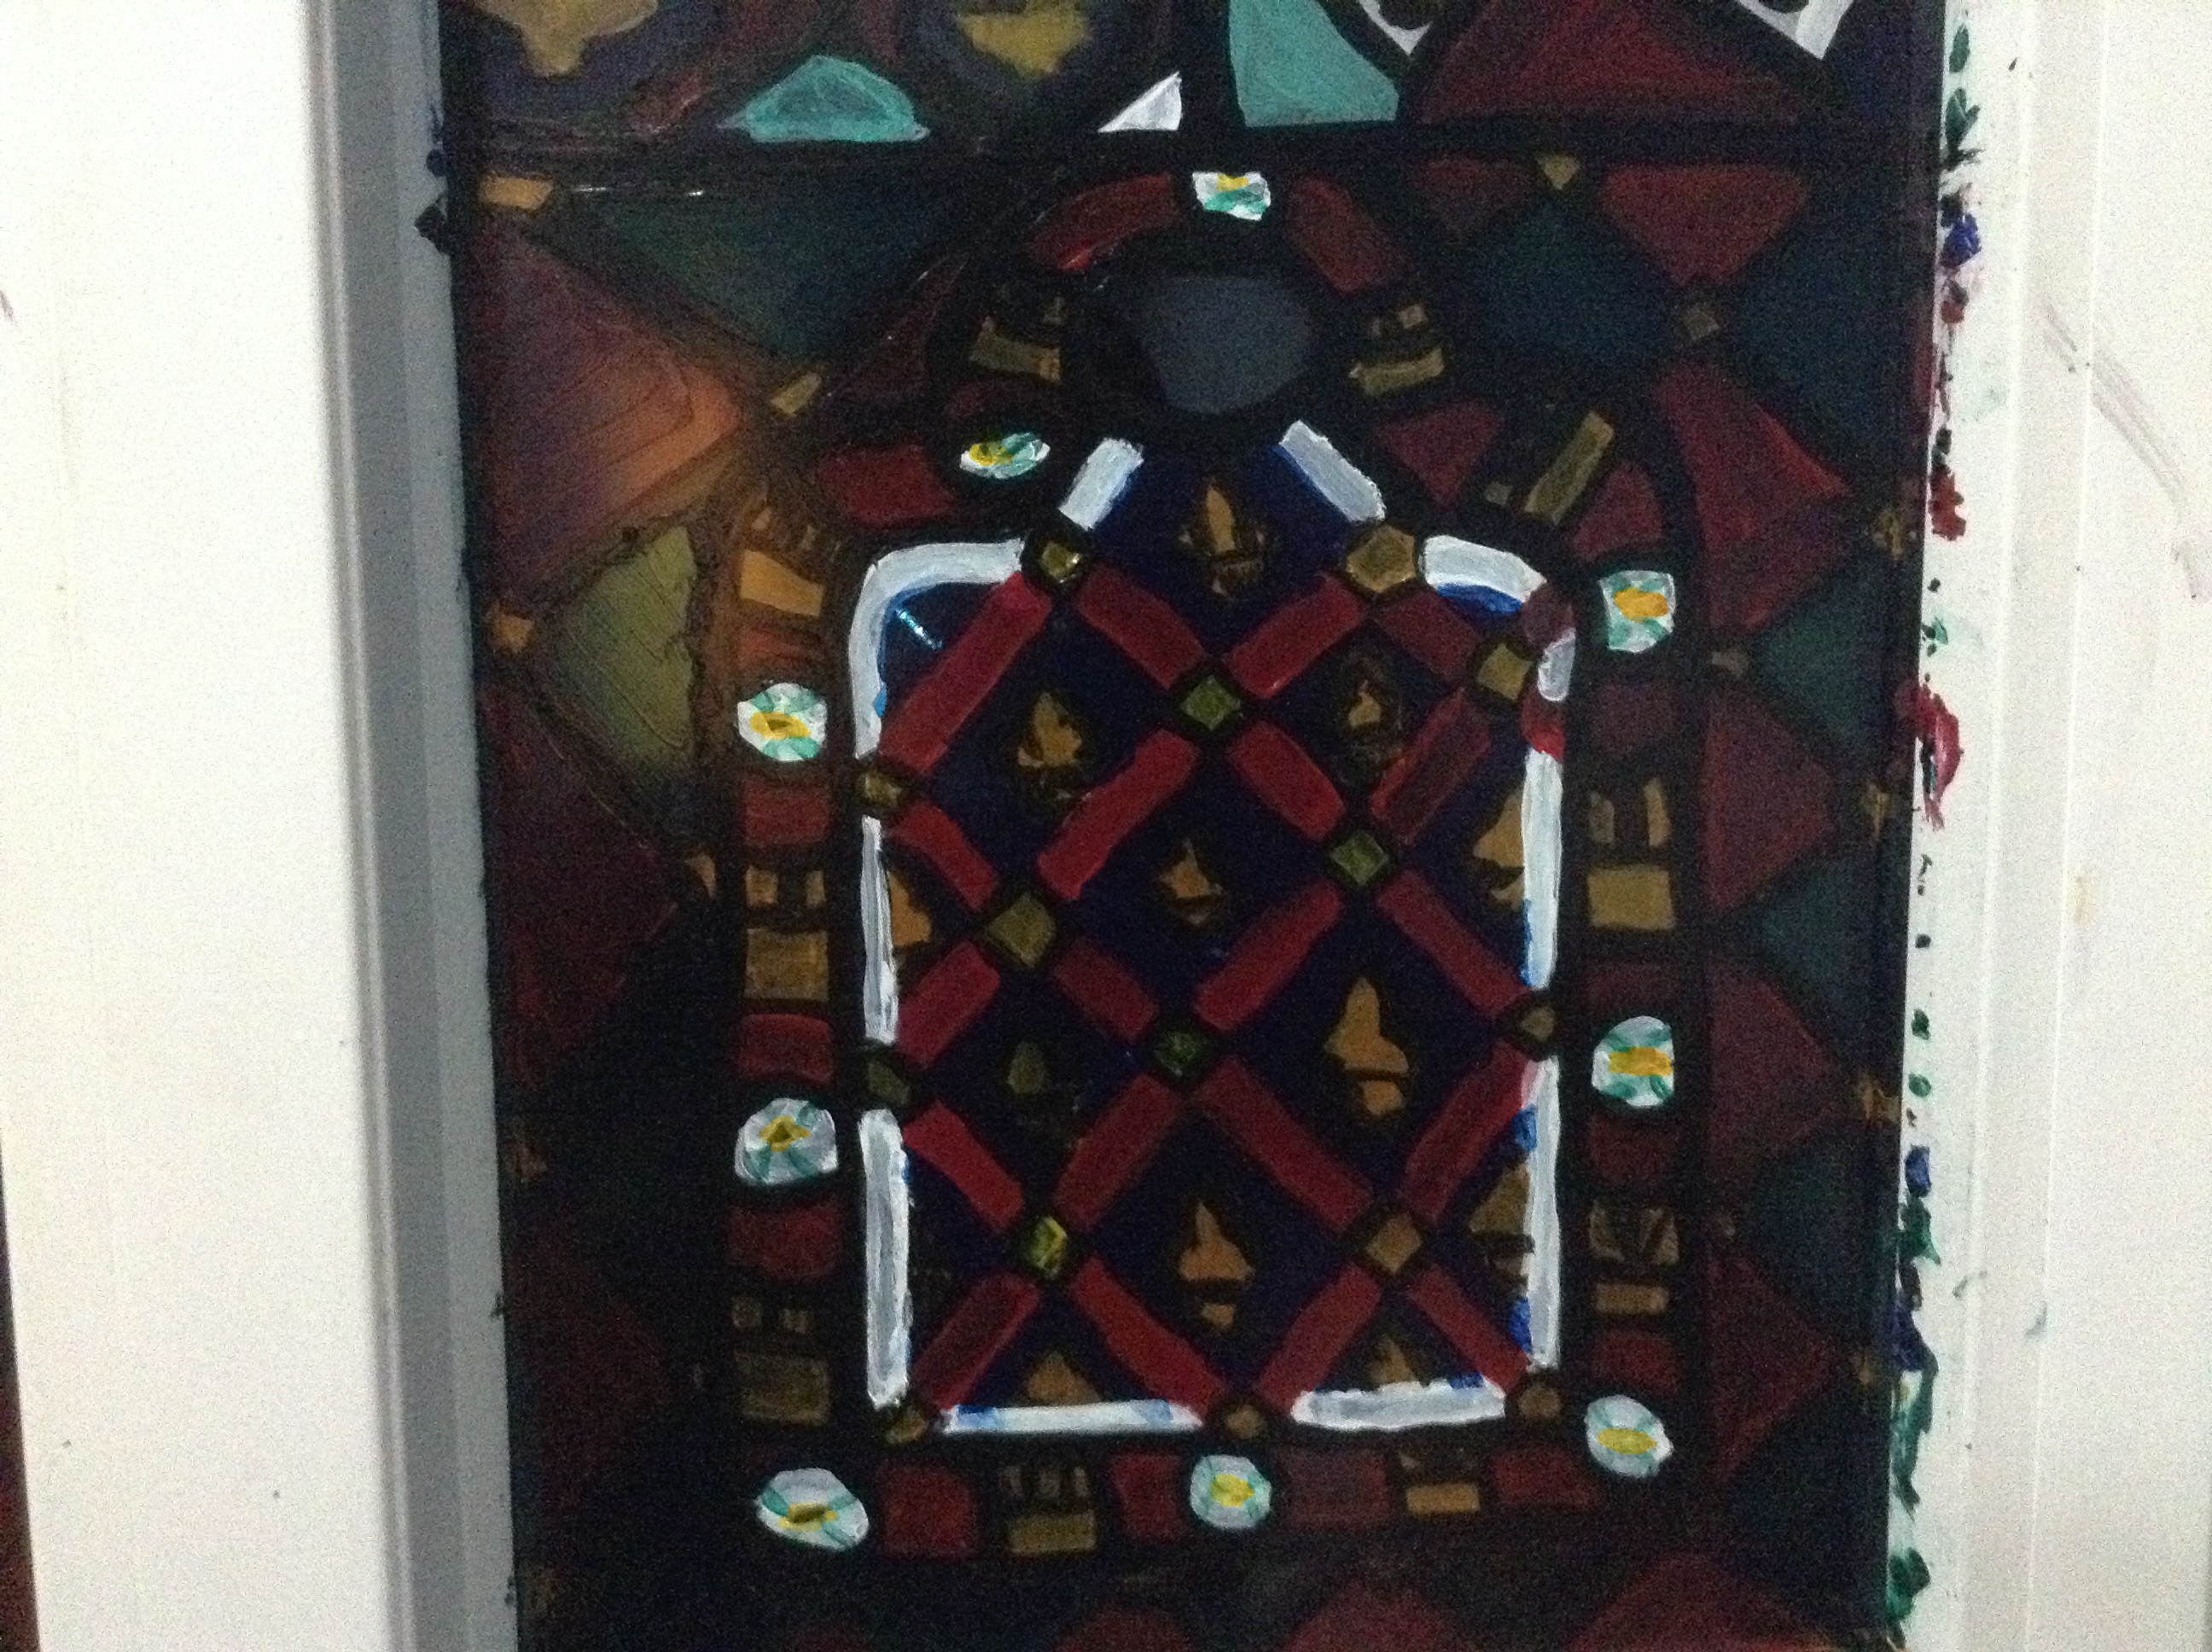
The painting progress of the window begins first with scraping off the old design painted on the window, which has been around for 2years now, but this old design has been replaced with this stained glass project. When the old window design is gone, the whole lower part of the right window is empty leaving this empty space to be the exact same spot where the new window design would be. With the portion of the window plain and clear, the painting work begins with the outlining of the frame, first with black marker then black paint over it making the lining. The first thing outlined is the frame; first an inner box forming an arch above, the next layer is the outer box much larger and also forming an arch above, outside the arched boxes is the diamond patterns for the alternating red and green. The arched pattern goes with 2 layers, the inner and outer, the inner arch first curves then makes a straight slanted line meeting with a circular pattern enclosed at the top, which would be left plain without any paint serving as a light hole, the original Sainte-Chapelle stained glass does not have this light hole though. The next step is making the pattern within the inner box, made up of symmetrical intersecting red lines, intersected with yellow squares, forming symmetrical diamonds between the lines, which is original to the Sainte-Chapelle stained glass. Within the diamonds, the fleur-de-lys pattern goes next outlined then painted within each diamonds, if the diamonds are only half as it touches the black borer, the fleur-de-lys would be cut in half as well. The next step in the making would be the design in the outer box layer, this would be the design of the gold Castilian castle and the white York rose alternating each other going around the frame of the box, the patterns curve to as it reaches the curved portion above. After this, the next step is coating the gold fleur-de-lys with the blue background giving it a traditional French look, the blue has to be carefully done without overlapping and must be surrounding the fleur-de-lys and within the red lines. The inner box lines with the gold and blue patterns is also lined with white bordering right next to the black outline separating the inner and outer box in order to follow the Sainte-Chapelle pattern, when doing the white, it must be thinly done making it look like an extra border where the blue and gold ends but the red lines and yellow intersecting squares overlap it. After this, the next step is painting the red background for the outer box between the castles and white rose patterns, the red background for the outer frame is also seen in the Sainte-Chapelle version as well. Next goes, the outside squares already as the actual window pattern is almost done; the outer squares however is much easier to make, as the red and green squares only alternate each other, in the intersecting points of the green and red squares would be the same gold-yellow intersecting small squares again, and to make it properly proportioned and aligned, black paint is used again to line the squares over the colored glass. Lastly is the finishing touches, here the whole window design is mastered where no mess is left and everything must be perfectly aligned, proportioned, and completely colored, most of the paints are used again but used less already and only to make the colors complete. Most of all, black is used again to properly line the design and make it aligned well, afterwards, its all done.

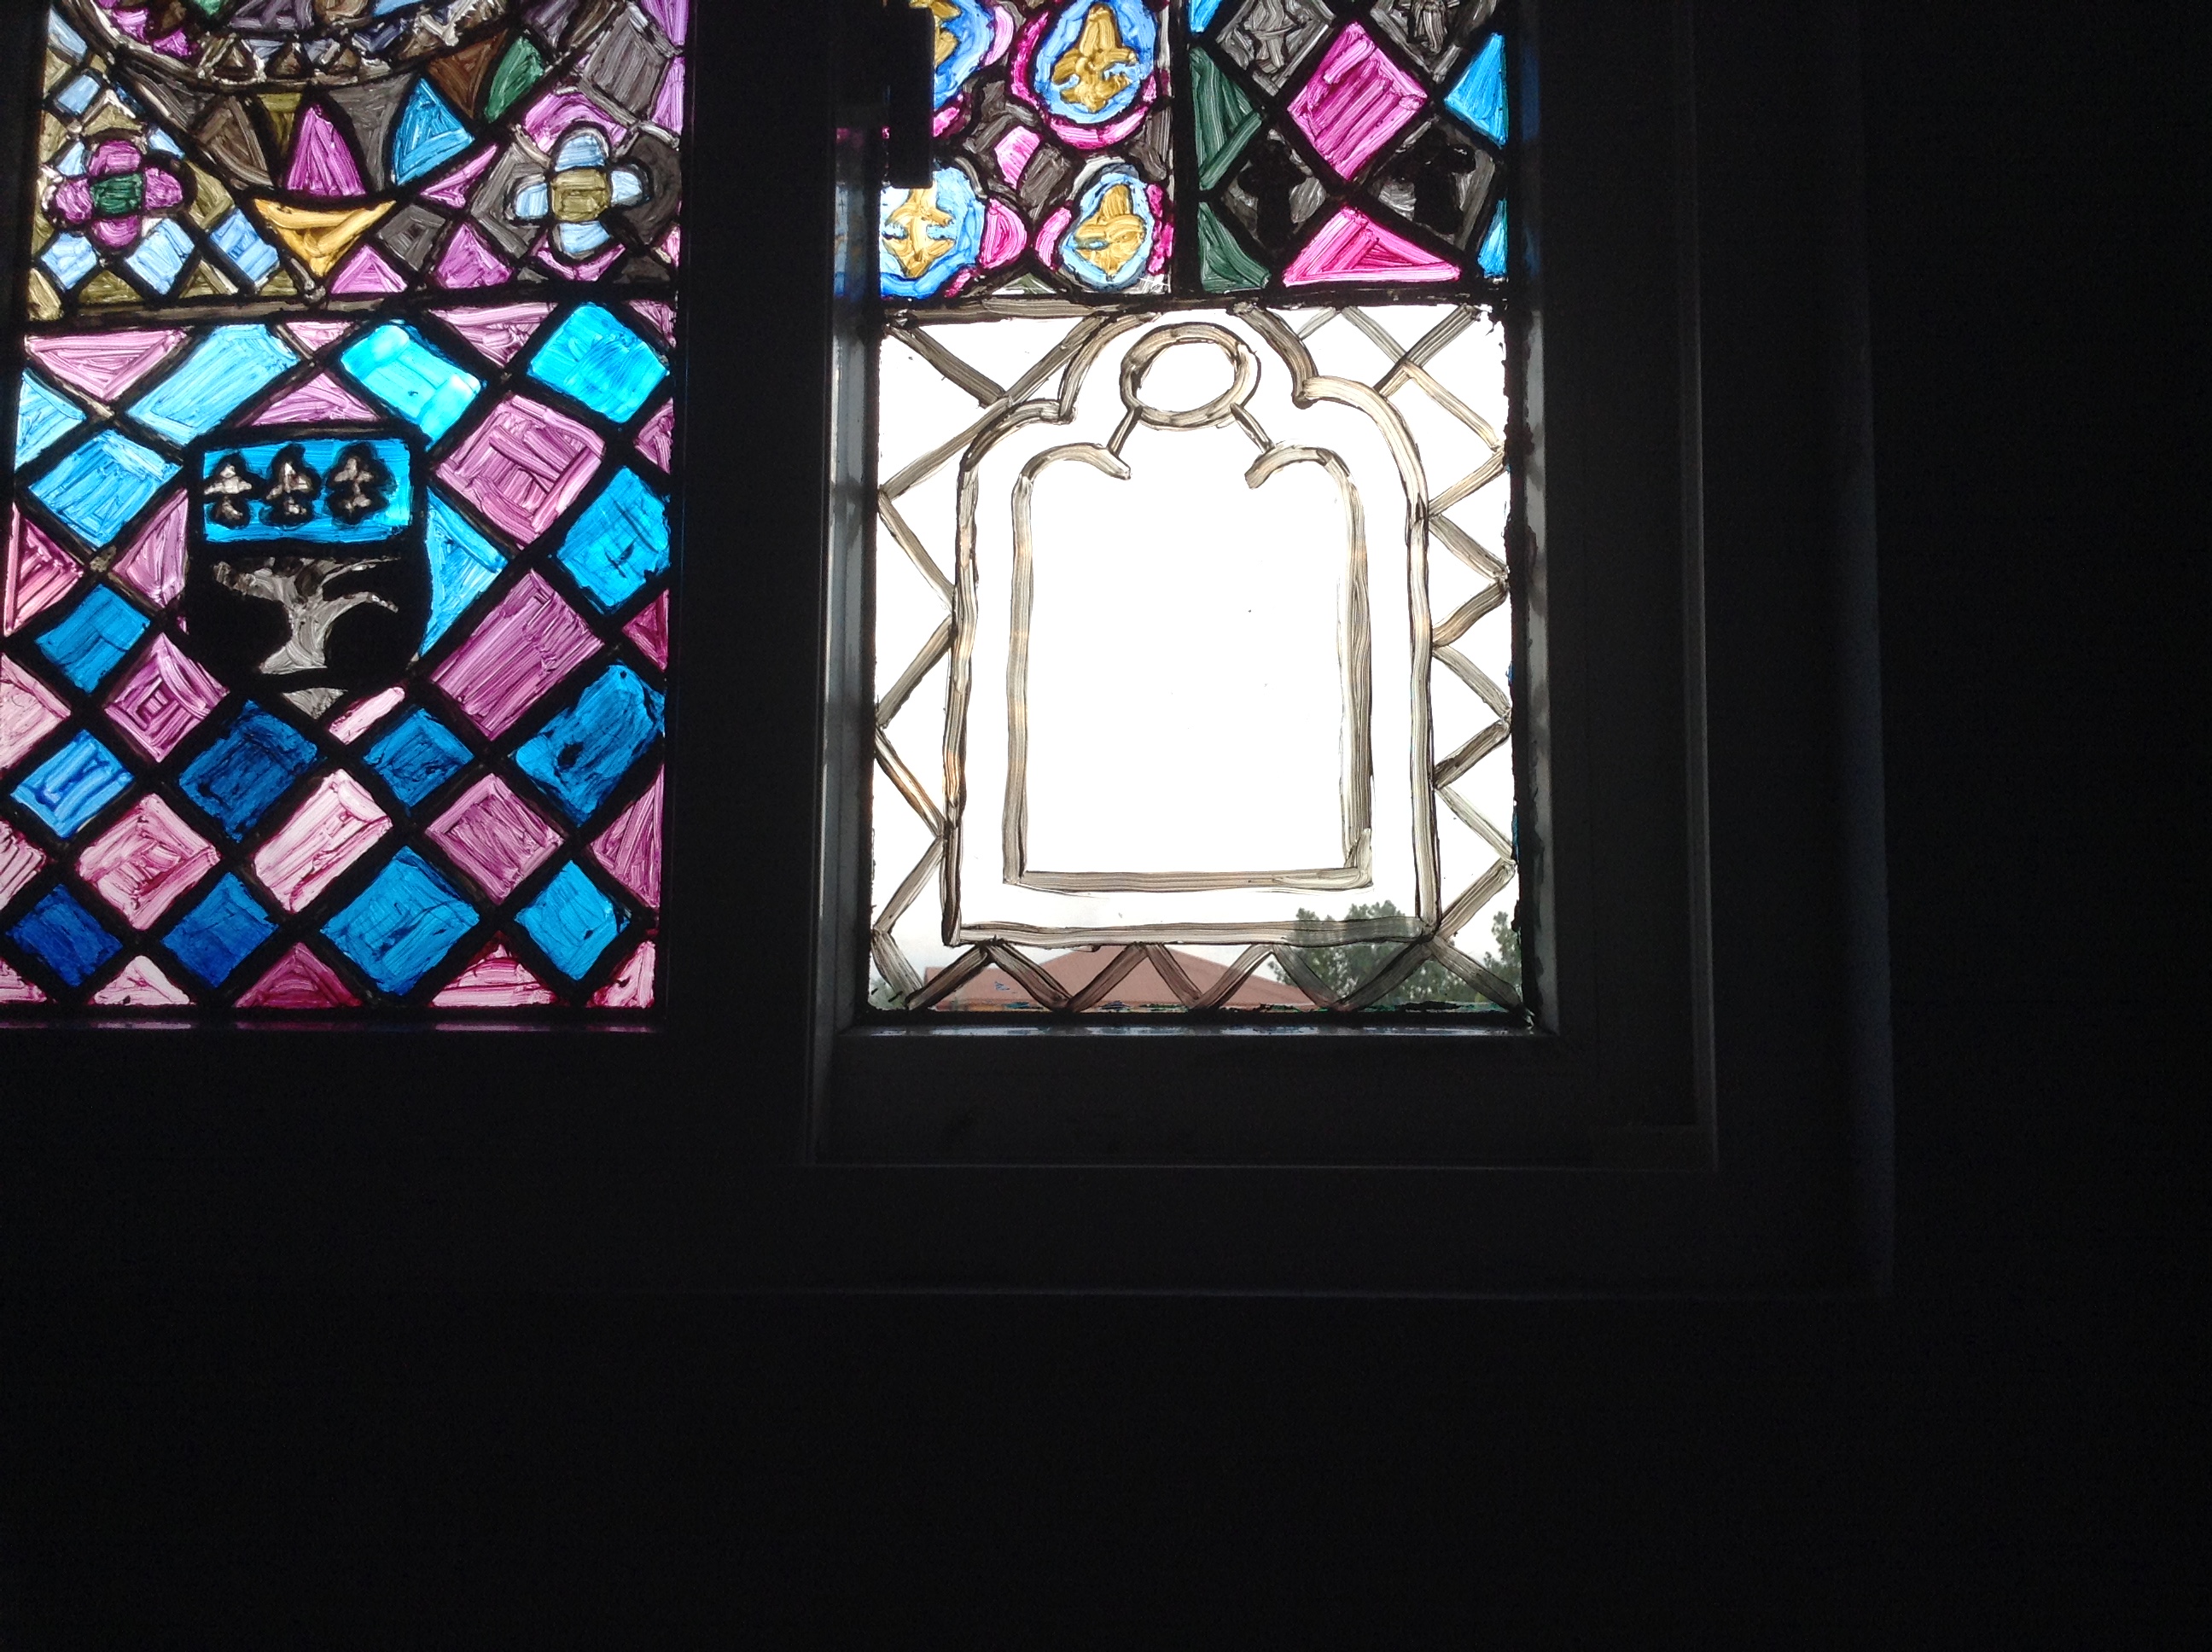


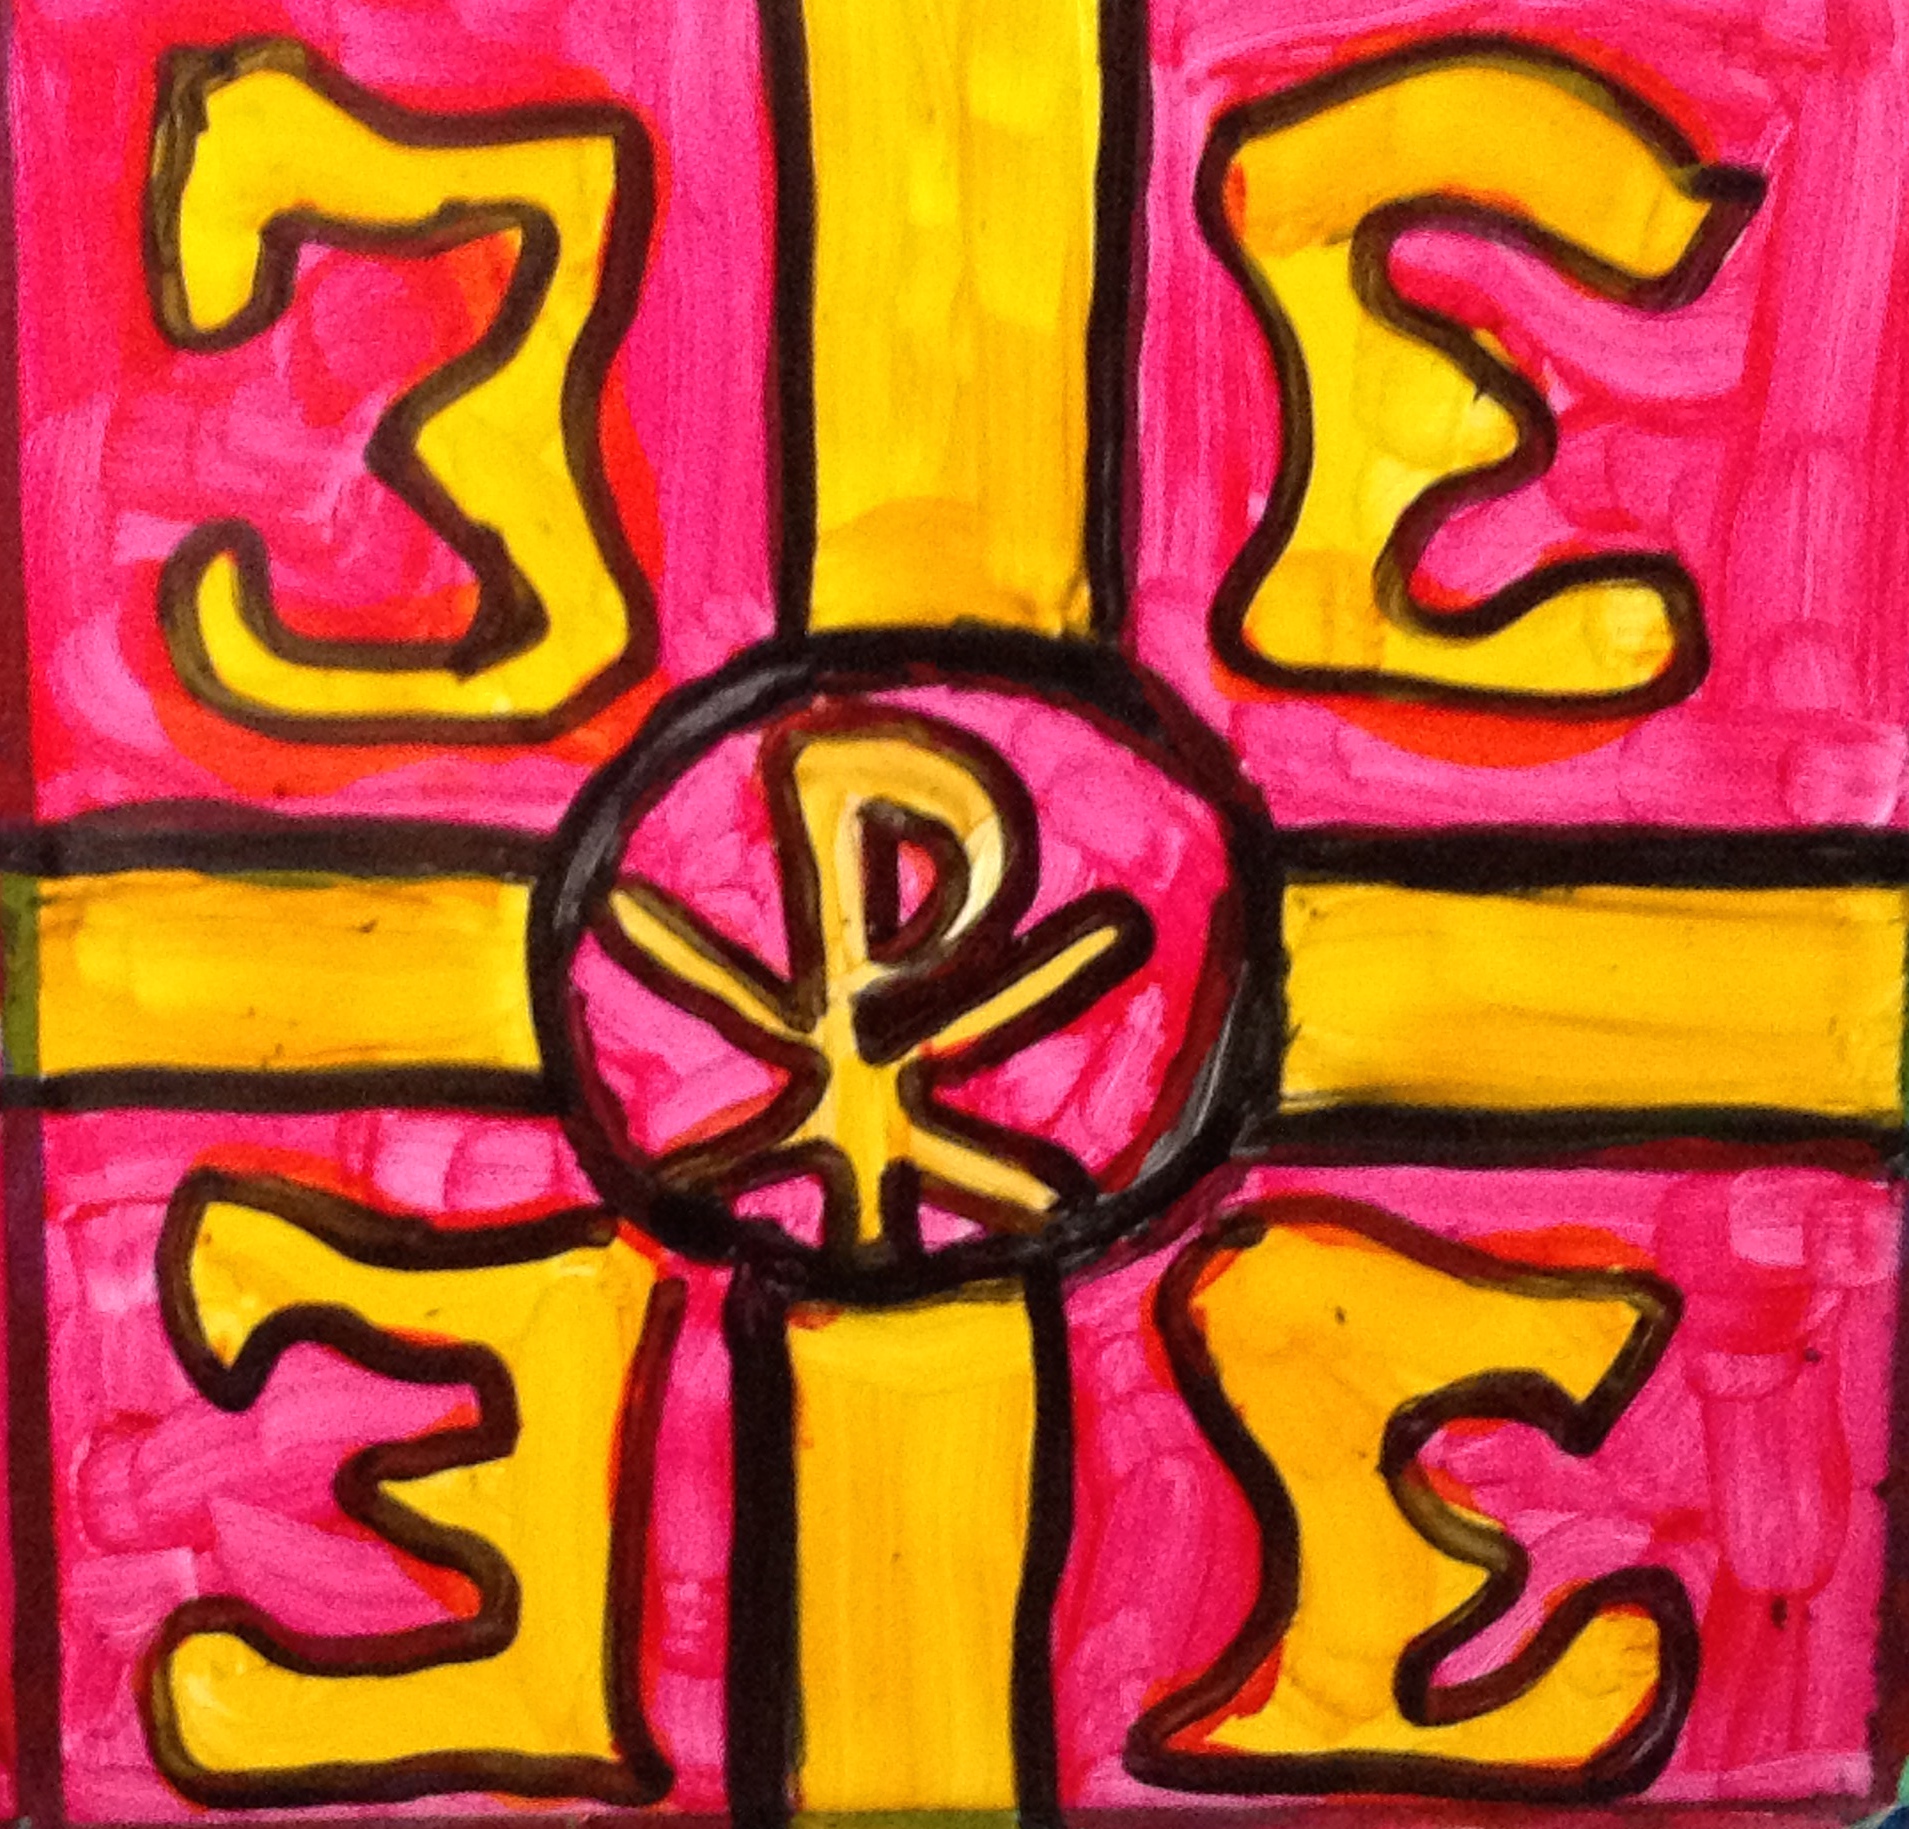
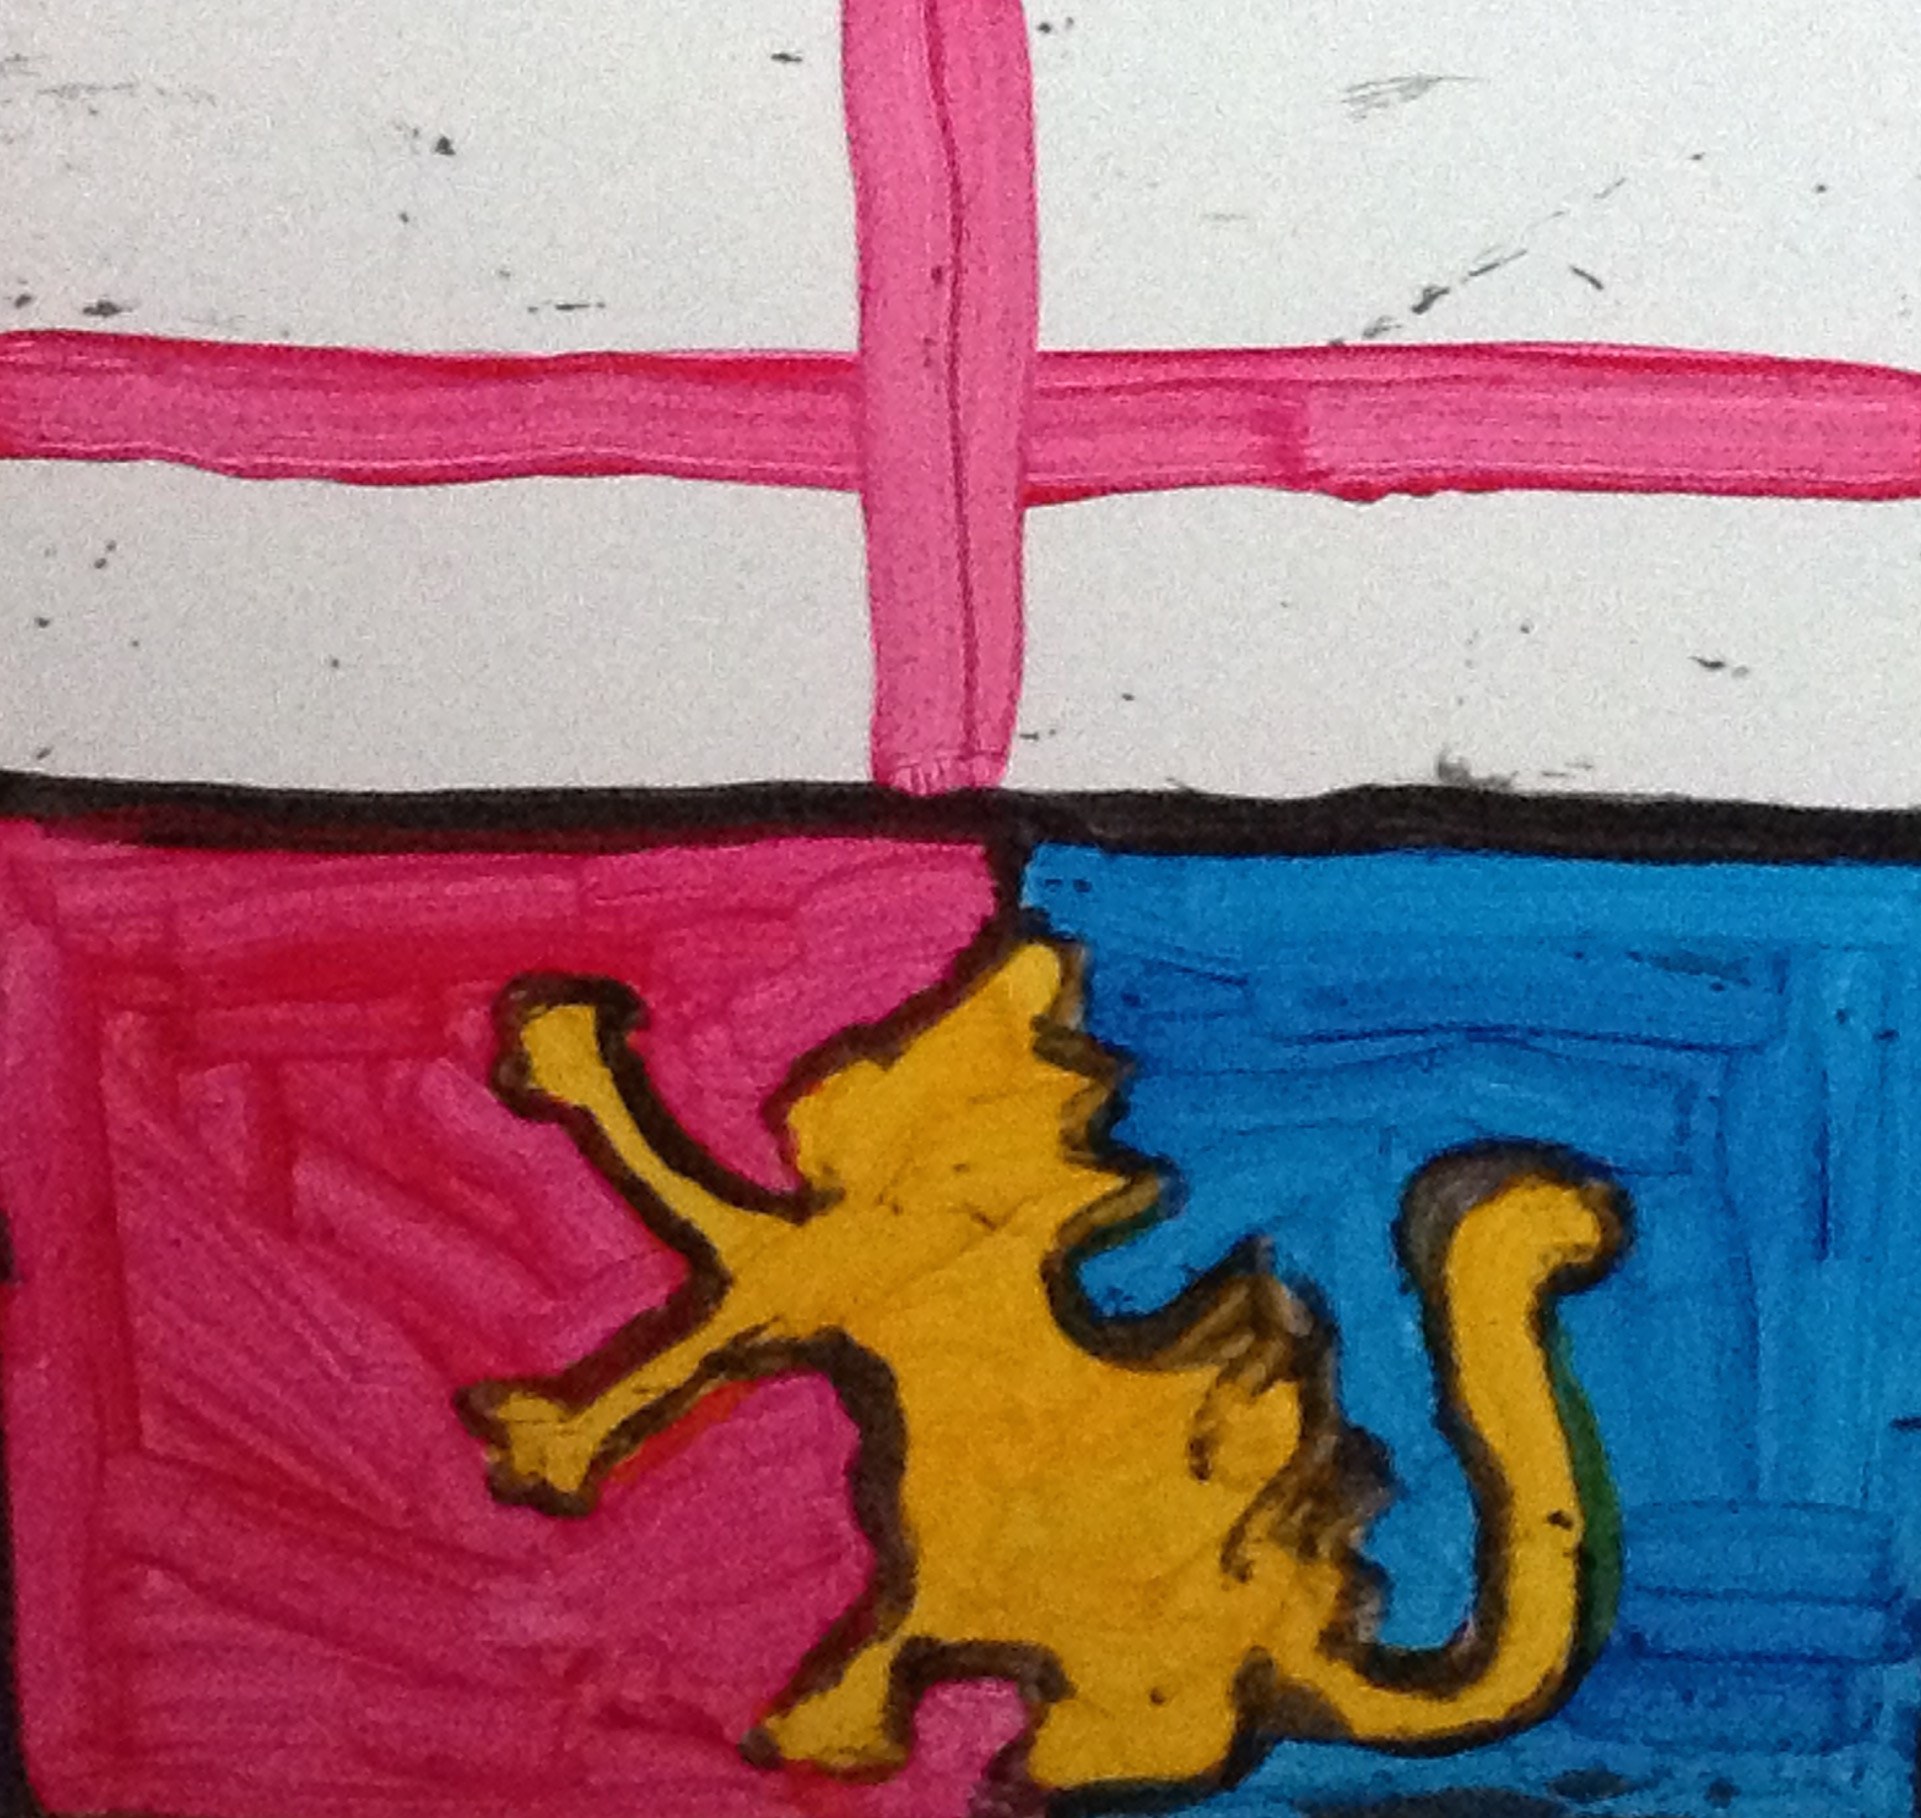
As the whole painting progress is done, the window can be seen differently during day and night. After all, its just a small portion of the whole stained glass windows that was done but it still gives more vivid detail to the window rather than just alternating squares like before. As the window is complete, it is best seen during day especially when the light is at its brightest, here the window can be seen in its natural colors as the sunlight hits it, in fact the outside can be slightly seen with light passing through but it cannot be seen to clearly with the puzzle of colors. The window during night is completely different as the colors look much more flat without natural light but the precision of colors is seen much better at night without any light passing through. However, during sunset or sunrise is the best time to see the window as the light slowly changes making the perspective of the colors change slowly. When seeing the window itself, a mix of art, especially of medieval symbols of Europe is seen making it a medieval cultural reproduction having the symbols of France (the fleur-de-lys), Castile (the castle), and England (the white rose) combined giving it an authentic medieval look. Most of the window’s design remained true to the original Sainte-Chapelle window, except for the light hole above and the alternating green and red squares outside the frame. Rather than the window itself, the bathroom restoration project includes a few new painted tiles on the walls. There are 4 different examples of the new tiles of the walls added in this restoration project; the national symbol of Medieval and Renaissance France, which is the 3 fleur-de-lys with a white divider and blue background, the other is the seal of Rome with the gold eagle and wreath with red background and the standard (SPQR), the other seal on the tiles is the Genoa football team seal, one of my favorite football team seals, and lastly is the design of the classic Byzantine war flag giving a piece of Byzantium into the whole art filled bathroom.


Overall, doing the whole restoration project was not as difficult as I expected it an in fact took quick in the making. Mainly, not much was done this time compared to before, but the highlight of all this was making the window. This time, what is new to me is working on a painting design with advanced planning and an advanced sketch, also I had design kept in my mind ever since seeing the original piece in Paris but of course it does not have its medieval originality any more but is still something unique. True enough, it is a lot better and faster to work with a plan of the actual thing, anyway hope the newly installed stained glass stands strong… thanks for viewing!
